SERVICING JABSCO MANUAL TOILET
On charter sailboats toilet is something that people use more then sails and after a typical charter season it's been used at least 400 times so it needs to be completely disassembled, cleaned, checked for cracks, new gaskets installed, lubricated, reassembled and checked for leeks. This is how we do it.
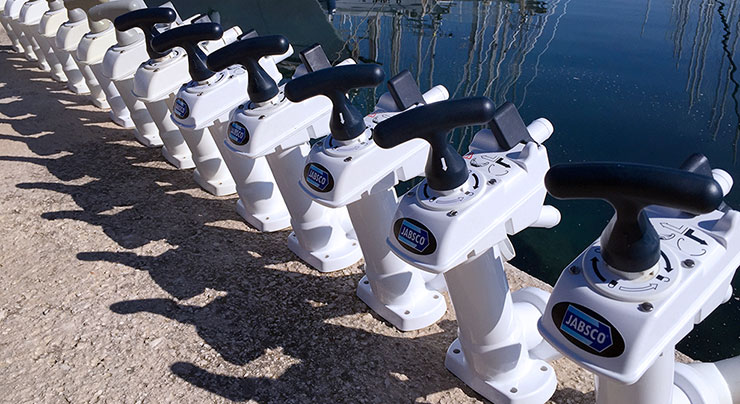
On charter sailboats toilet is something that people use more then sails and after a typical charter season it's been used at least 400 times
There is just no way around this. You can try 100 different cleaning fluids and techniques and it will not get the job done because the amount of calcification on the gaskets, walls of the pump and hoses is just unforgiving. In addition to calcification gaskets tend to deform over time so they need to be replaced.
Before you begin remember to close two sea cocks. One is on the end of 25mm hose witch is providing sea water to the pump and the other one is on the 38mm hose witch is taking the waste to the sea. Release the clamp on two 22mm hoses witch are connected to the pump and take them off. Unscrew two big screws that are holding discharge elbow(34) and disconnect it from the pump. Unscrew 4 screws holding pump to the the toilet base and detach the pump from the toilet. Release the clamp that is holding the discharge elbow to the 38mm hose and pull the elbow out. Release the clamp holding the 38mm hose to the sea cock and take the hose off. Use heat gun to make the rubber softer and then it will come off easily. Be careful when taking the hose out of the boat because bits of waste will come off the hose wall. Unscrew 6 crews that are holding top part to the body of the pump, put the lever to the left and lift the top part. Use wrench 25 to open seal assy if it was leaking water so you can replace it.
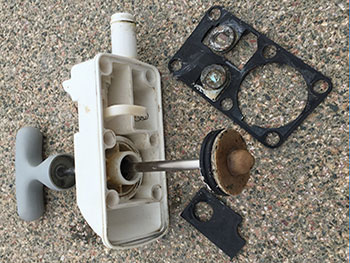
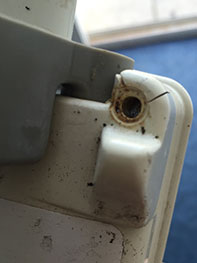
Now days planed obsolescence is something we take for granted and the fact that these toilets are designed to fail will not come as a surprise. Just a visual inspection off an old toilet pump will allow you to see that where ever the crack is that is where the material was weakened so it can fail. If you see a crack throw that part away, there is no point in cleaning it. As a mater of fact price of one spare part together with the price of gasket repair kit can sometimes be equal to price of the new pump, so in that case you can save a lot of time and money and just buy a new pump, all clean and shiny.
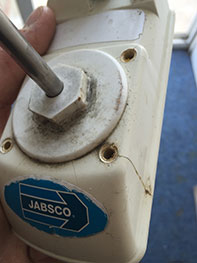
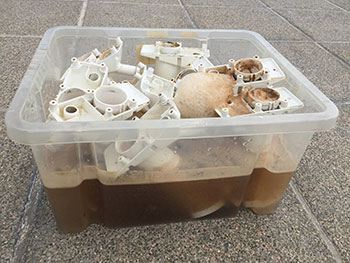
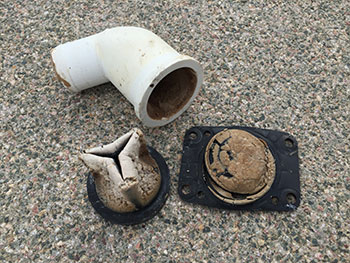
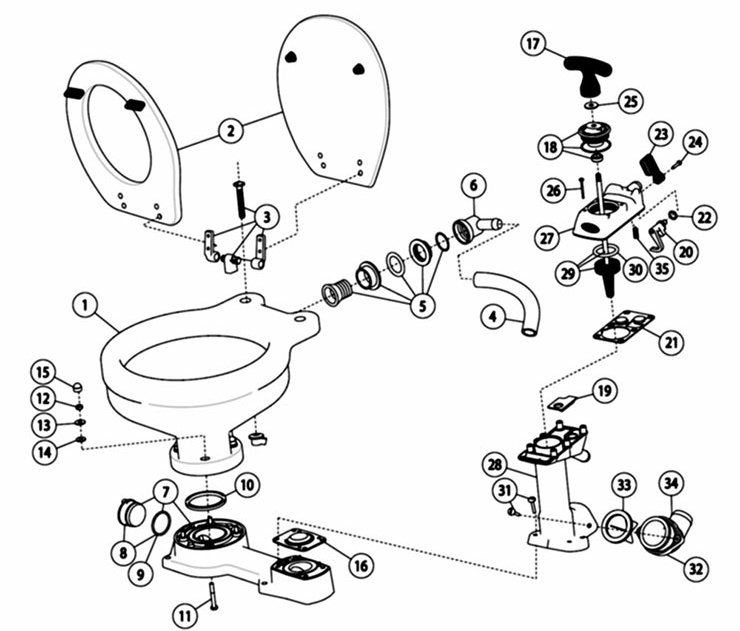
On the photos above you can see what happens to the gaskets. This is the worst case scenario and it is evident that joker valve (33) and base valve gasket (16) are deformed and can not close properly. Discharge elbow is filled with calcified waste and it has to be submerged together with the body of the pump (28) for 30-60min in 15-25% hydrochloric acid to dissolve the waste buildup completely. Top valve gasket (21) around 2 weights has deformations that prevent it to seal the chambers properly and it will decrease efficiency of the pump so it is important to change it. Piston and o-ring (29) should be submerged in acid for only 20min. Do not allow acid to come in contact with the handle or the lever because it will damage it, all other parts can come in contact with the acid. The acid will produce a lot of foam and toxic fumes so make sure you do this outdoors and definitely outside of your boat. After working with acid make sure you wash everything with some general purpose detergent.
No mater what year of production is your toilet pump I would advise to purchase Jabsco service kit 29045-2000 because the new "twist n' lock" system is not a god idea. Inexperienced user gets confused hot to operate it so either they can't unlock the handle and they break it or they accidentally release seal assy so the water starts to leek. Start the assembly by following photos below. Make sure that you apply some lubricant on the inner walls of the pump and the piston with an o-ring. This will allow the pump to operate smoothly without that annoying squeaking sound.
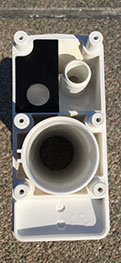
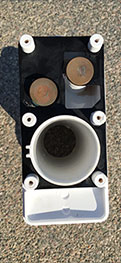
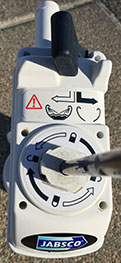
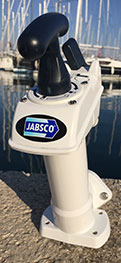
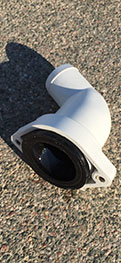
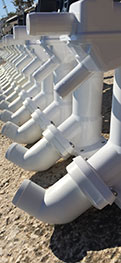
These days most boat toilets come with Vetus Sanitary hose which promises a superior performance but it is just not that good. it will eventually fail just like any other hoses due to the calcification buildup, it is heavy, not flexible enough, hard to clean on the outside and colour is not that nice. So we use white Noname sanitary hose witch is more flexible, lighter, cheaper and it just looks better next to a white toilet. Make sure you purchase a hose long enough to create a vertical loop witch goes at least 60cm above the sea level. Connecting the hose to the sea cock connector can be a bit tricky so either use lubricant or heat the hose (too much heat can damage the hose) in order to make it slip over the connector. Always use two clamps when connecting hoses to increase the safety. When completed, check for leeks on the sea cocks, discharge elbow, around the base of the pump, around all the screw heads and around seal assy while pumping.
Here is a exploded view of the whole toilet to help you during servicing procedure.
If you are interested on what principles the pump is operating you can watch the clip below. Have fun :-)
