HOW TO SERVICE A YACHT STOVE
Although people usually have a habit of cleaning the stove right after they do the dishes there are always some surfaces that you just can't reach. After one charter season those surfaces tend to build up food remains and grease so they need to be cleaned for sanitary reasons. The only way to do it is to disassemble the stove. This is the time when you can service gas pipes and check all parts for corrosion. This is how we do it.
I've seen people that paint the rust over and put it all back together but that is just like fixing the economy with more credit. That is not how we do it.
Before you start make sure that gas valve is shut off. To disconnect the gas hose from the stove use wrench keys 14 & 17. Lifting the oven out of its holders can be done by pressing the metal spring plates on both holders. Disassembly process is fairly straightforward, but here are the guidelines. Lift the top grill and start with the 4 corner brass screws. Use big flat screwdriver that will bridge the gap across the screw. After removing screws you need to lift the front edge of the top plate 5 mm so it can pass above the step and push it backward for 2 cm. This will disconnect burner pipes from the valves. Move top plate carefully further back for 5cm so you can see the connections between brass valves and copper heat pipes. Use key 8 to unscrew two connector on the left and then you can lift the top plate completely. Side plates are held by 6 screws each and before you can remove the back panel you need to detach pipe and valves assembly from the back panel. Turn the oven on the side to remove the bottom plate witch is held in place with 4 screws. To split open the oven doors and properly clean the glass you need to remove the door handle and the safety spring.
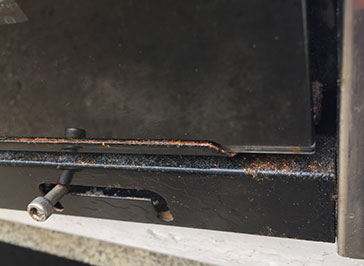
Once again planed obsolescence is showing how companies like Techimpex prefer to do business. They are specialized in marine cooking equipment and their ovens come as a standard equipment on Bavaria and Elan yachts. Because the sea is such an unforgiving environment, each of these ovens after just 2 years begins to show signs of corrosion. One might think that using stainless steel parts would be obvious but Techimpex uses nickel plated iron parts or just painted iron parts probably just to make you boat maintenance more interesting :). On photos below you can see 5 year old oven from Elan boat that came to our fleet from another charter company. This is an extreme example to show how a lot of patience and a little of ingenuity can restore even this oven to a state which is better then the original.
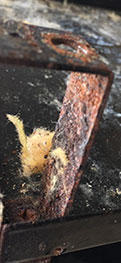
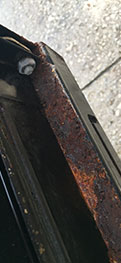
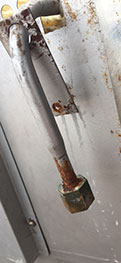
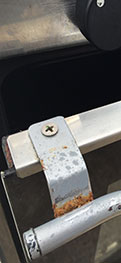
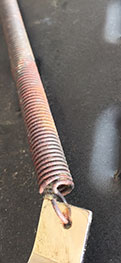

Degreasing everything is an obvious step but after it all dries out it's not so clear. I've seen people that paint the rust over and put it all back together but that is just like fixing the economy with more credit. It will look fine in short term but on the long run the problem will come back and then it will be much worse. The only solution witch makes sense is to remove the thing which was causing the problem, so we fabricate new parts out of stainless steel metal sheets. We did this for all our boats that use Techimpex ovens so it drove the price down. At the end we had inox parts at the price which was lower than a price of genuine Techimpex spare parts not to mention that inox parts will not rust and will permanently look shiny and new.
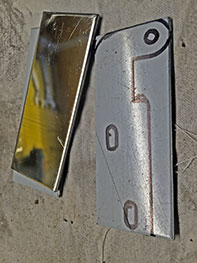
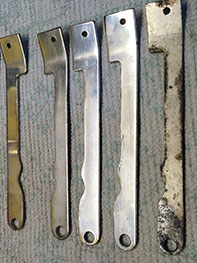
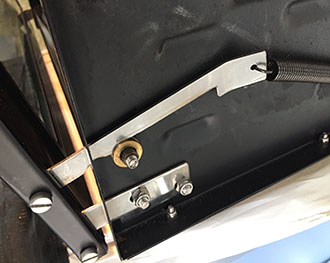
We fabricated the following: bottom plate, back plate, rear holder for bottom burner, front funnel for bottom burner, top two burner brackets, door handle, door hinges, door holder and glass brackets. You will need to buy some new stainless parts like screws, washers, bolts and nuts because original parts are just too susceptible to corrosion.
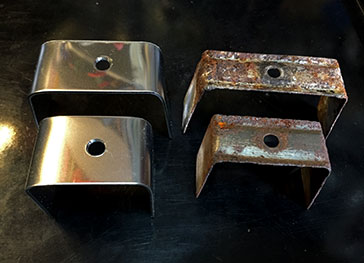
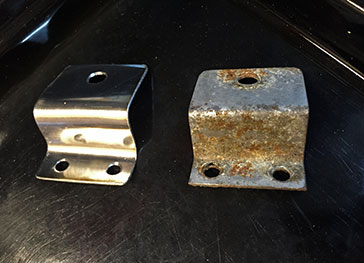
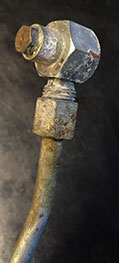
Some parts makes no sense to buy new because you can restore them to full glory. This is mainly related to gas pipes and valves because they are made of brass and aluminum so the corrosion that builds up can be polished and it will not return so fast. Because the shapes are so irregular it is best to use power tool with spinning metal brush to polish them. Small hole on bolt which is at the end of the gas pipe leading to the oven can be cleaned with a needle. Open the bolt with the wrench and clear all the dirt behind it.
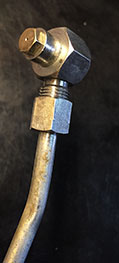
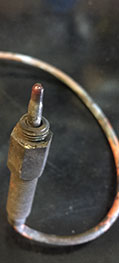
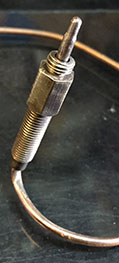

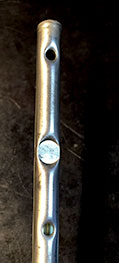
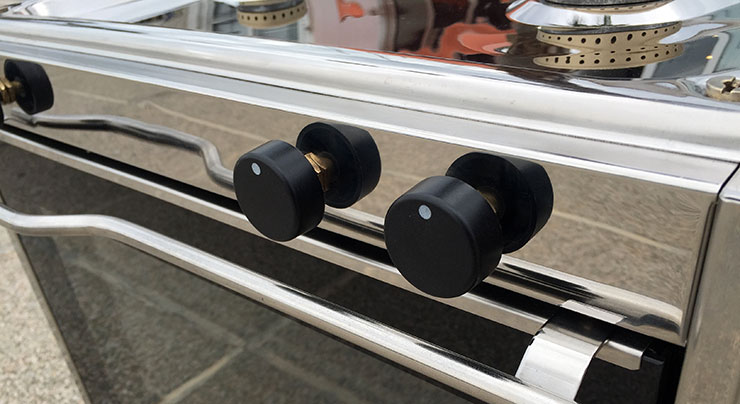
Front part where all the valve knobs are located receives a lot of abuse during the season just like the top plate. All the small scratches can be removed with the right polish paste. Usually the process is done in two stages. In first stage you are using rough pad with rough polish paste to remove the scratches and in second you are using soft pad with soft paste to achieve high gloss.
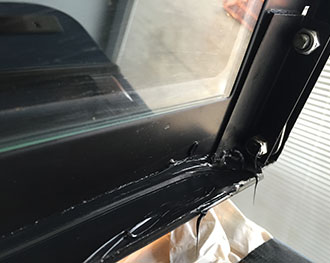
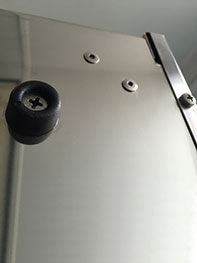
Start with the new inox bottom plate and fix it with screws but this time use rubber bumpers instead of those ugly burner pipe end fittings used by Techimpex. If the bottom of the door was heavily corroded and it was necessary to remove the front glass to remove the rust make sure you use proper silicon glue to fix the glass back on. This is the place that receives heavy condensation so it is necessary to protect exposed iron. After that install the new inox back plate, and after that add both sides.


Burner pipes can give you a headache. When trying to take them apart be careful about two things. Screw that holds the brass cap usually gets stuck. If it doesn't go with normal force use flame gun to heat the bottom of the pipe and it will be much easier. Same thing with the nut holding the burner bracket. If the nut breaks off the screw than you need to drill a hole and make screw thread inside.
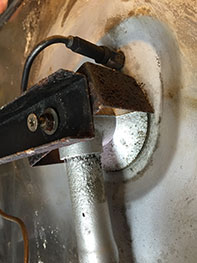


Fix the burner pipes to the top plate and adjust the length of the copper heat pipe by changing its shape. If you find cracks on the heat pipe buy a new one. Connect the heat pipes to the valves and align the burner pipes so that they are aligned to connect to the valve terminals. Push the top plate toward the valves and then use big flat screw driver to lift front end of the plate so it can pass over the step. Fix 4 corner brass screws and make sure you correctly start the screw thread. Do not apply a lot of force, brass is a soft metal and you can easily destroy threads.
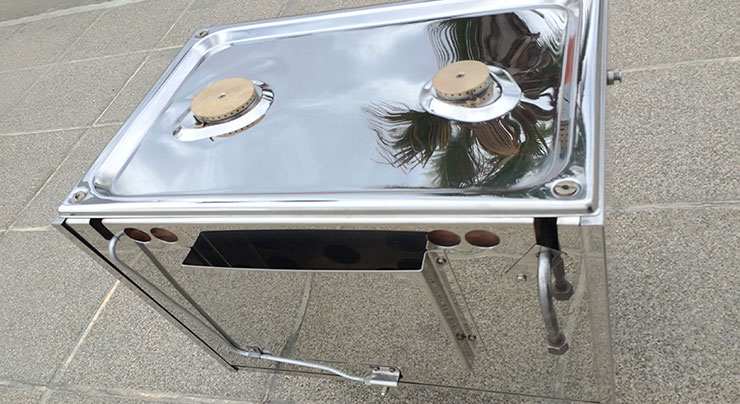
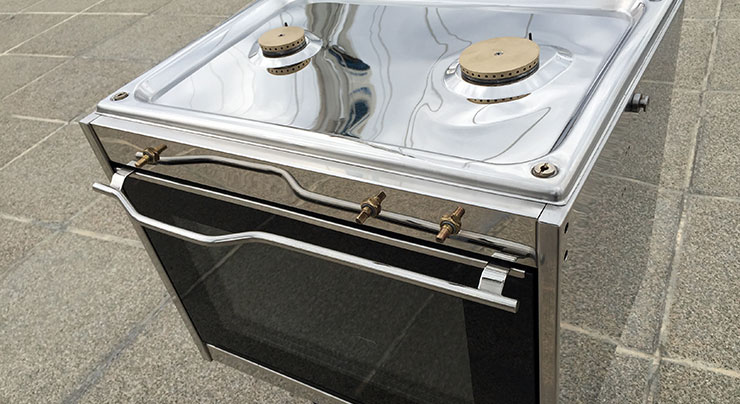
When it is all done sit back and enjoy the view. You can install the stove tomorrow :)
